
How To Replace Yamaha Lower Unit In 10 Minutes
May 8, 2017
Top 10 Outboard Engines for Your Boat
March 2, 2018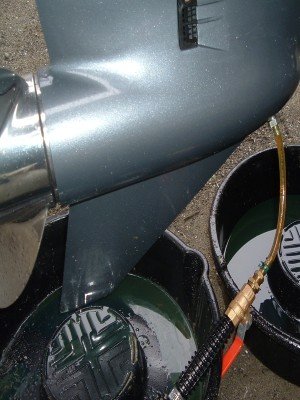
Changing the oil on your Yamaha engine sounds like a really simple thing to do, but if you have never done it before, it could be quite tricky. To make sure you do it correctly, follow these useful tips on how to change Yamaha lower unit oil.
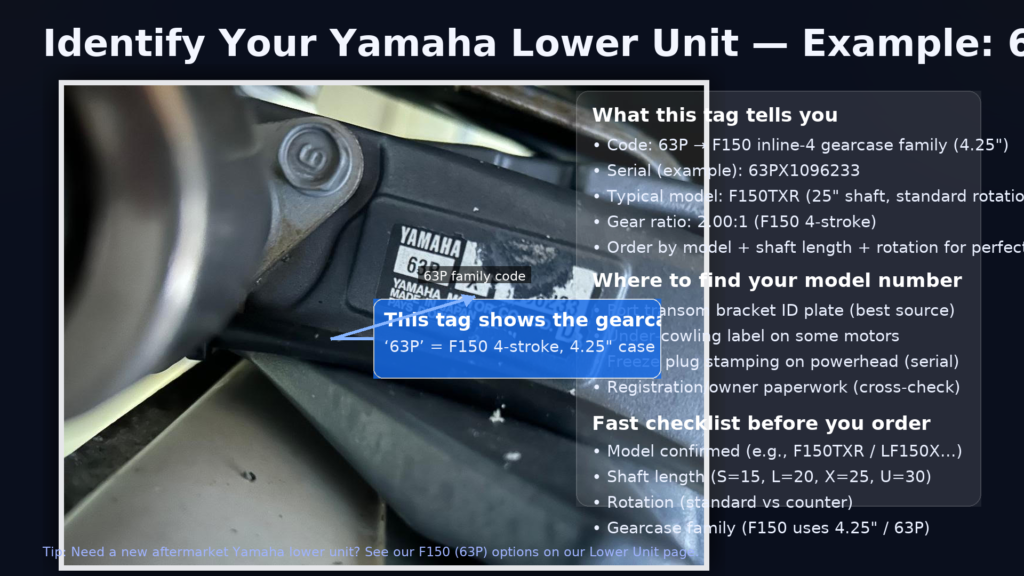
Are you looking to buy a new one? There you go.
Step by Step Guide to Change the Lower Unit Oil
Positioning of the Outboard Unit
Make sure the outboard is on the right position, which is vertical and upright. Find the lower and upper fill & drain plugs then place a container underneath it to place the oil.
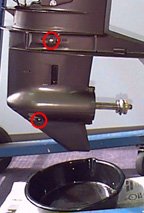
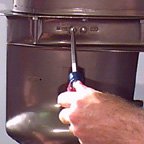
Remove the Lower Drain
Remove the lower drain plug after you make sure that you put the container on the right spot, because the oil might begin to drip
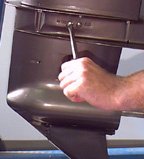
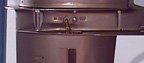
Remove the Upper Drain
Remove the upper drain plug. Doing this will release the vacuum inside the outboard that will let the oil to flow and drain quickly.
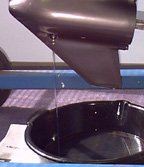
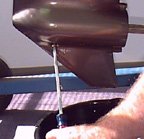
Wait to Drain all the Leftover Oil
Wait until all the leftover oil drain completely. It shouldn’t be too long and only takes about 5 to 10 minutes.
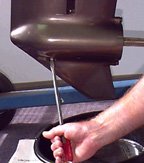
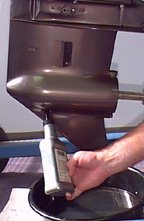
Start Refilling the Lower Unit Oil
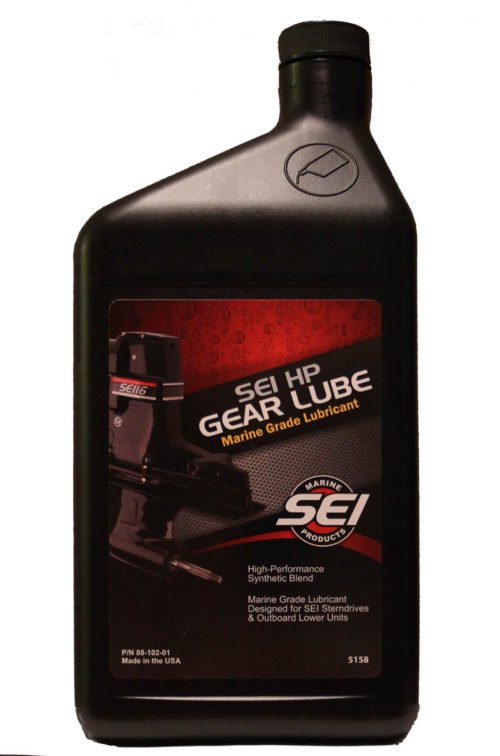
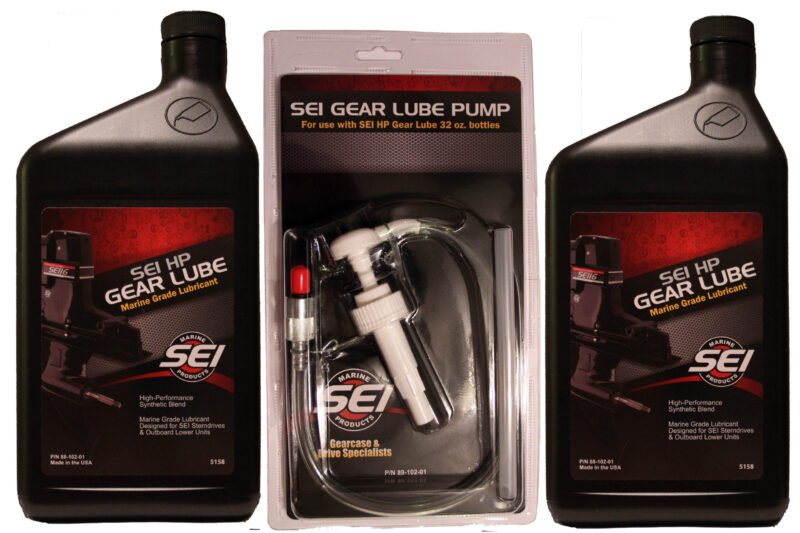
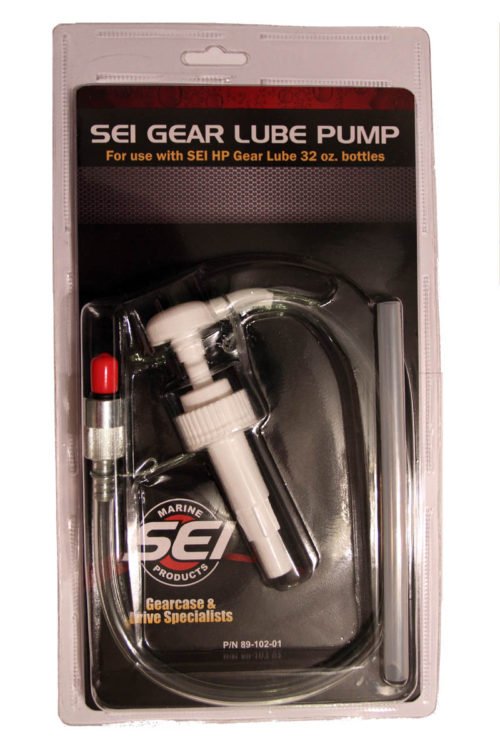
After you drain the oil, you can start to refill the unit. There are a few different types of apparatuses available in the market for changing your Yamaha lower unit oil, it ranges from tubes to squeeze bottles, but the most comfortable option is probably the squeeze bottle. Simply insert the squeeze bottle to the lower drain hole and then squeeze to release the oil from the bottle.
Keep Refilling Until the Lubricant is Flowing from the Top Hole
Don’t stop adding the oil until the lubricant from the top hole is flowing nicely without air bubbles.
Plug the Lower Drain Hole While you Install the Upper Plug
Plug the lower drain hole while you install the upper plug. You can do it either by using your finger to plug the hole or simply keep the oil bottle in the bottom plug. Doing that will create a vacuum that will keep the oil from spilling when you install the bottom plug later.
Put the Drain Plug in Place
Now remove your finger or the bottle out of the lower hole and put the drain plug in place. Even though you have created a vacuum, you still need to do this as quickly as possible because the oil will still drip out of the unplugged hole. If you somehow make a mistake and there’s an excessive amount of oil drip, then you need to add another bottle of oil. When the refilling is done, tighten both plugs with your hand and clean any oil spill on your lower unit.
 Final Notes
Always make sure that your lower unit is properly filled before you operate your outboard.Not filling properly can cause serious damage that will cost a lot of money to repair the unit. Checking the oil level is not difficult and It’s pretty much like checking the oil of your car. Just remove the upper oil plug then insert a small wire into the hole about an inch deep and take it out. If the wire touches the oil then you know that the oil is at the right level. If you don’t find any oil on the wire then it should be refilled until you reach the right level.
So that was a brief tutorial on how to change yamaha lower unit oil. If your lower unit is out of order and you are looking for new one then visit our site to find out right lower unit.

